Esys is the most professional program for reprogramming and programming of BMW-branded machines.
Note that the installation of this software is accompanied by a series of difficulties due to the fact that it has a special and dedicated launcher that is less common.
To install this program, you need to do all the steps carefully. Otherwise you will have to start installing the program from scratch.
Pre Requisites for Installing and Running Esys Plus Program
- A receiver that includes a laptop or computer running Windows.
- Homogeneous operating system: the homogeneous operating system can be Windows 7, 8.1, 10 and 11.
- Processor: minimum power required 1.8 gigahertz in Pentium 4 processors or more
- The type of operating system should be 64-bit.
- RAM should be at least 4 gigs.
- Permanent memory should be at least 2 GB.
- Java: version 1.8 or higher
How much time does it take to install Esys Plus Software?
Installing this software on a medium system that has an i5 processor can be installed in a quarter of a time.
The time it takes to install is based on the processing power of your system and the speed you use. So this time can vary between ten minutes and an hour.
Does the Esys plus Software need Activation?
This software requires Activation.
Keep in mind that the activator file is in the download file package, and by downloading the file from the Digg, you will have access to everything necessary to activate the software.
Important things to consider when installing and activating esys plus software.
- It is necessary to be sure to remove the antivirus from the active state and leave it in the inactive state.
Different antivirus considers program activator files to be malware. If you don’t want to disable the antivirus, you need to add the ISIS program files to the Trust List so you don’t run into any problems.
Installation and activation of the esys program
You should know that this program is a little more difficult to install compared to other examples like Autocom.
So you need to do everything carefully. Keep in mind that you must have Java installed and Windows is disabled so that you can start the installation process.
Java is installed on all Windows enabled. If you receive a warning after installing that Java is not installed, you must install it.
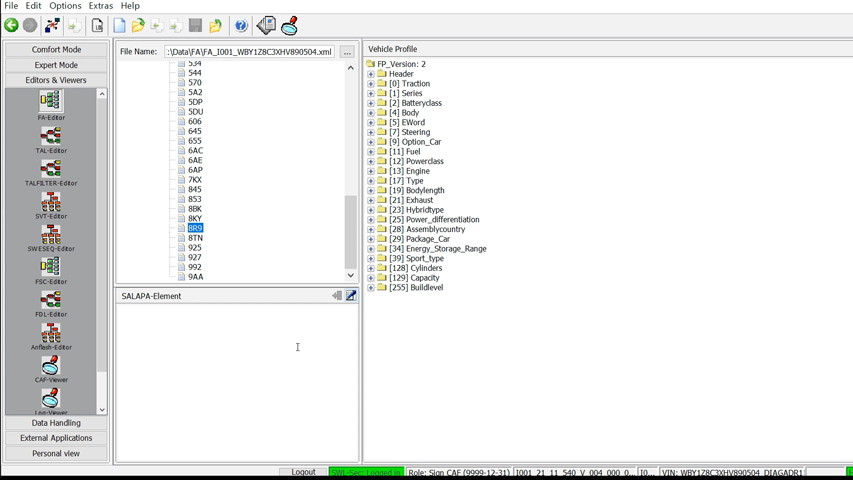
Step 1: download the Esys file.
On the Best German Car Website, you need to search for Sys to get to the Esys download page. Here you have to buy a copy of the software so that you can take action to get the app and update it for life. After purchasing, you can download the installation file from the header.
Step 2: extract the file from the compressed state.
Here you need to click on the file that has been downloaded and click extract to from the winrar menu to start extracting the file.esys
You need to give a little time for the extraction to take place.
Step 3: implement the esys installation file.
Log into the folder where the files were extracted and implement the E-Sys_setup file by right-clicking and running as administrator option.
Step 4: select the Installation Language.
Here you are asked to choose the language you want to use for the installation process. This option is required to set to English and click Ok.
Step 5: the Welcome Message
At this point you will see a welcome message for the installation steps of the esys program, which you can take to the next step by clicking the next button.
Step 6: accept the rules.
At this point it is necessary to accept the Agreement on the use of the esys program in order to have a license to install the software.
Click I accept the agreement and click next.
Step 7: orient the installation.
In this step, you will be asked to determine the location of the software installation in your system memory.
Our advice is to allow the application to be installed in the same default path and it is better not to change the installation path. Click next to move on to the next step.
Step 8: directing the data.
The esys program is based on basic data. In this step, you will be asked to determine a path as the location of the data.
It is suggested to allow the data to be taken in the same default Caspian path . Don’t make a difference. Then click next to move on to the next step.
Step 9: naming the start folder.
For all applications that are installed, a folder or folder is created in the Windows Start menu, and you should know that it is the same for the esys program.
Here you have to specify the folder name associated with the esys program.
You can click next without making any changes to specify the default name for the folder.
Step 10: add the icon to the page.
In this step, there is an option on the screen that if you tick it, the software icon will appear on the Windows Home screen after the installation process is over.
Here you need to tick and click next.
Step 11: confirm the Installation Settings
Here you can see the settings you made before installing the program and you will be asked to click install as you are sure about the settings so that you can move on to the next step.
It is necessary to wait a little while for the program to be installed.
Step 12: finish the Installation of the base Esys.
Showing this page means that you have been able to finish installing the base esys. Here you need to click finish and select the folder that contains the installation files so that you can continue the installation.
Step 13: start of the Installation of Esys plus
In the folder that contains the installation files, there is another file called ESysPlus. Right-click on this file and run it with the run as administrator option.
Step 14: the language of the esys plus installation
In this step, you will be asked to specify the installation language of esys plus. Set the language option to English and then click OK.
Step 15: navigate and confirm the settings
Here you need to determine the installation path of the program and click next. Then you have to tick the desktop icon on the next page and click next.
Then click on the Install button on the next screen to start the installation process. We recommend that you do not change the installation path.
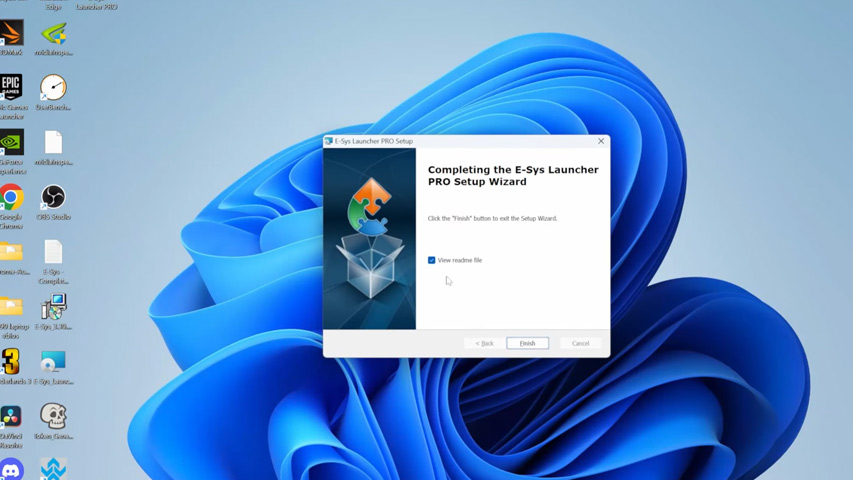
Step 16: end of the Installation of Esys plus
Here you need to remove the tick that is related to running the program automatically and click on the finish option to complete all the steps of installing esys plus.
Step 17: Test from Esys
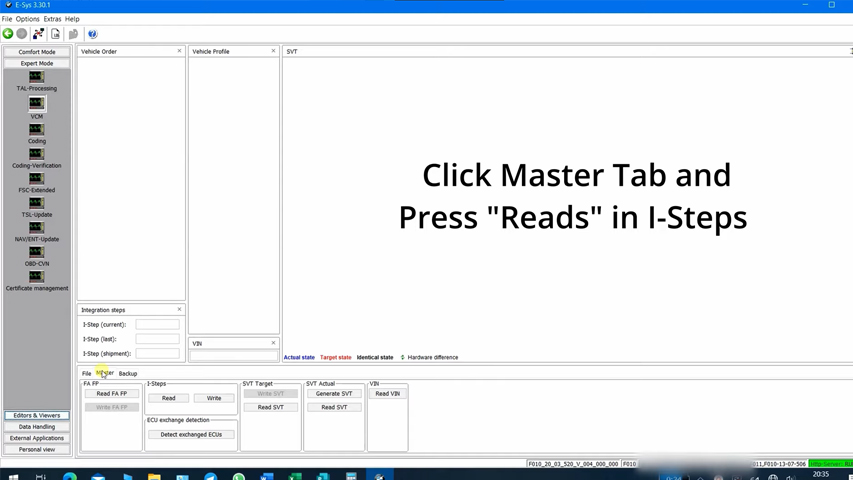
To make sure you have the esys app installed correctly, you need to open the app once and close it after it opens.
This is only done for make sure that you do not encounter antivirus or Java alerts and that the software is running correctly.
Step 18: the execution of Esys plus
After you’ve closed the esys software, you need to run the Esys Plus Program on your screen. Keep in mind that the esys plus language should be set to English.
Step 19: transfer the Esys shortcut to Esys plus
At this point, you need to drag the Esys app icon on the screen with your Mouse , which is drag and drop, and put it inside the esys plus page so that esys Plus can now work as your esys launcher.
After transferring the icon to the Esys Plus , check the launchesys option to ensure that the app is running correctly.
Step 20: the status of the program is known.
Now when esys runs, you get a message that says your app is not active and you have to enter the Activation Code.
This means that your app is not active and you have to enter the Activation Code. This means that the app and launcher both work correctly.
Now you have to close the app so you can go to activation.
Step 21: step one is activating.
It is necessary to re-enter the folder in which you extracted the installed Files. There’s a folder called keygen here that you have to log in to.
Then right-click on the esys Plus app and click Open file location to go to the folder where esys Plus is installed.
The thing to know here is that if your Windows is old, you should click properties and click open file location on the first page.
Notice : We recommend that you purchase a valid account and perform this step only by entering the details of the purchased user account so that you can use the software without any problems in the future.
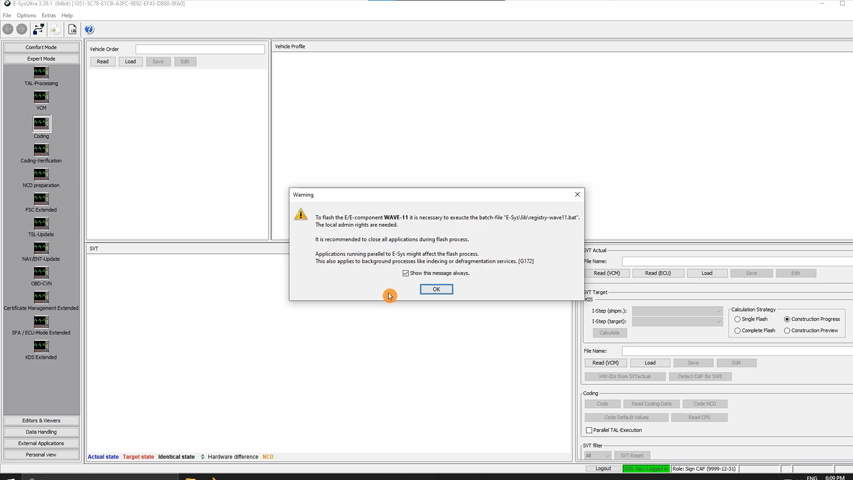
Step 22: transfer the contents of the activator
You can see the contents of the keygen folder in the folder of the esys installed files and on the left side of the folder where the ISIS program is installed.
Copy the contents of the keygen containing 5 files and put it in the Esys Plus folder. If you encounter a repeated warning, click replace.
Step 23: getting the hardware ID.
Now in the esys plus folder, a file called HardwareID32.do not re-exe. In the window that opens you will be shown a key.
Copy this key and the hardwareID32 window.close the exe.
Step 24: register the hardware ID code in the Activator
Now open EsysPlus38KeyGen.exe open you have already transferred in folder esis plus.
In the window shown, paste the hardware key you copied earlier and check the Generate option. If the end of the displayed message is token, press Ok.
This means that you have successfully registered the key. Then once on the GZ file. Exe to activate the hardware key. This takes 1 second.
Step 25: end of activation and testing
Now you can delete the esys app icon from your desktop. Note that you must leave the Esys plus icon.
Then run Esys Plus and check the Launch Esys button to run your app in activation mode. If you don’t see the activation-related message that asked you for the activation code this time after implementing the software, it means that you have successfully completed installing esys and activating it.
Here you have successfully completed all the steps of installing and activating the esys app and the esys plus launcher.
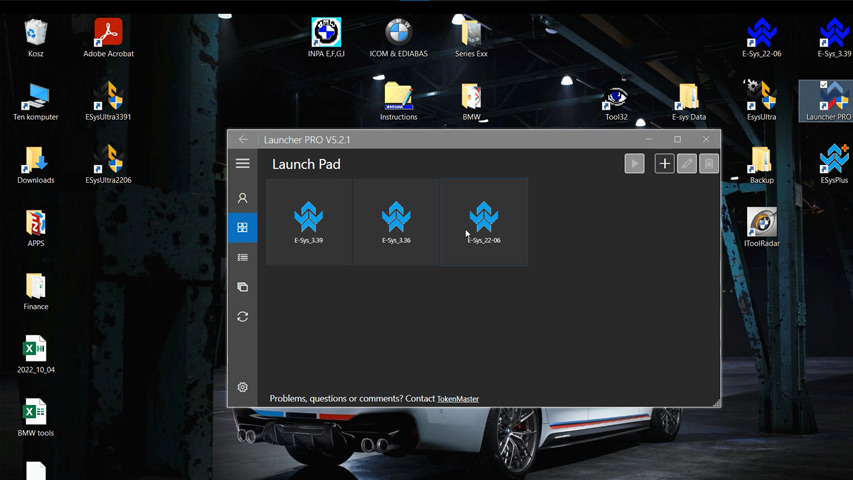
What is e-sys launcher pro?
BMW E-sys is a software released by BMW to code applications in BMW F Series machines. The software allows Rami to disable and activate certain features in F-Series cars.
The E-sys Launcher is designed to access some advanced features for users interested in advanced vehicle use.
Do you need Esys Launcher?
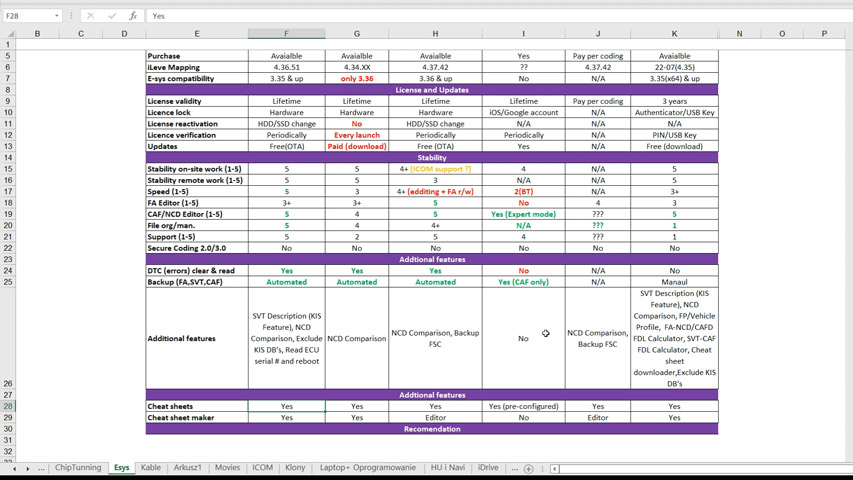
Launcher is only required for FDL coding. Without Launcher you can code ecus or change VO and code the desired ecus. But the problem here is that there is no VO code available for your project. So you need a launcher anyway.
What is Esys Ultra ?
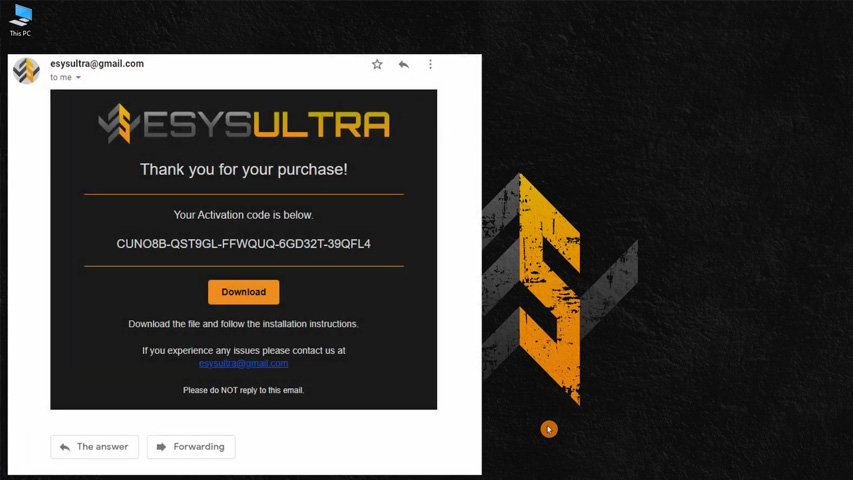
ESysUltra is the ultimate coding solution.
Keep in mind that it offers a wide range of new tools to help make the coding experience as comfortable as possible.
Saves you time at 400% faster than the old native solutions on the market.
It uses newer mapping data compared to older Solutions on the market.
What is the use of Esys ?
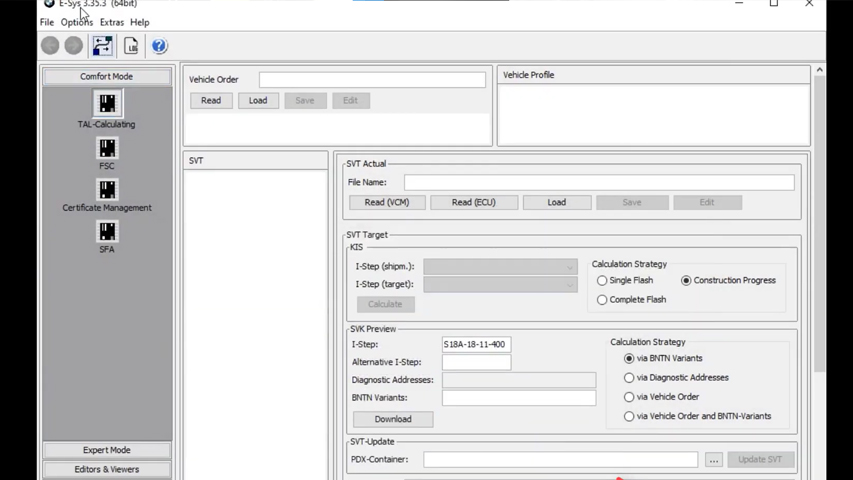
ESYS is an expanded BMW application that allows you to code both FDL and VO of your car along with the flash ECU with the new software.
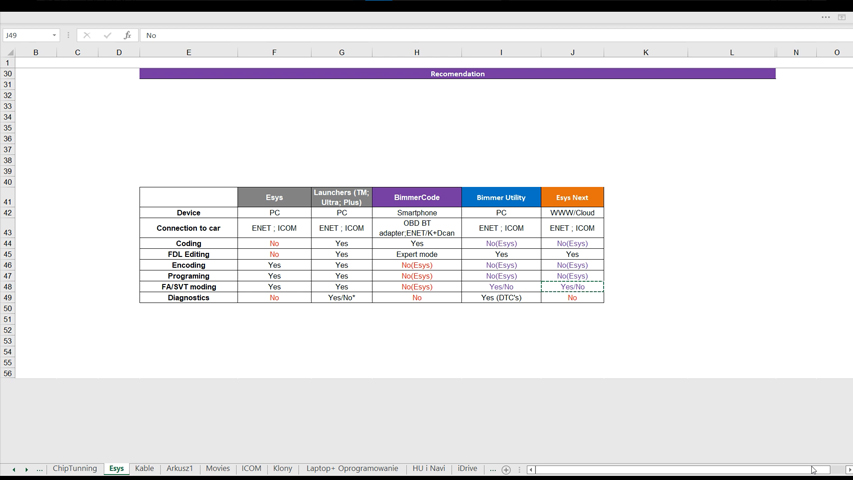
Esys launcher how to choose
Here are some of the features you can enable or disable using esys software:
- Confirmation of the sound of unlocking
- Run the navigation menu including watching DVD while driving.
- Display engine output and meter torque
- Cancel confirmation of big screen boot delay
- Open the voice recognition function.
- Set the Bluetooth phone ringtone.
- Increase the CIC memory address to 50.
- How was the air conditioning memory in the last state
- Remote control key to close the electric rear door
- Change the small screen to a large screen.
- Vertical and horizontal Pdc display
- Seat belt status display
- Disable the passenger seat.
- Seat belt status display
- Disable the driver’s seat.
- Seat belt reminder
- Disable the passenger seat.
The above are some of the things you can do by encoding the esys app for your BMW.
Sources:
scribd
